How to Disable Wi-Fi in Windows 11
Once you turn on your Wi-Fi and connect over a network, your Wi-Fi will be on and connect automatically the next time too. Now, what if you want to disable Wi-Fi in Windows 11 and no longer work over the internet? Well, you can do it with the help of this guide. You can change font size in Windows 11 if the text is too small or large on your desktop. Once you do the necessary settings, you can go to disable the Wi-Fi and work offline with ease.
Disable Wi-Fi in Windows 11 in 4 Easy Steps
Step-1 Click on Start: Go to the start Windows icon that has four squares arranged in one major square. That is the start option through which you can access all the applications that are a part of your device.

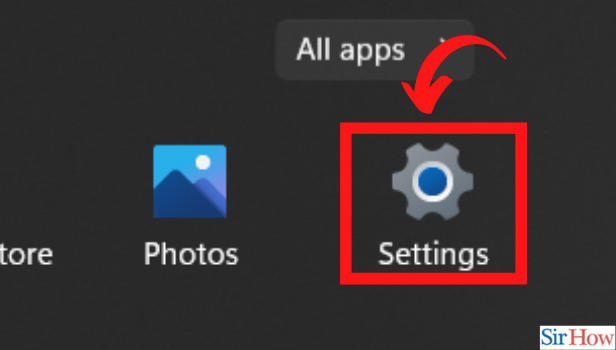
Step-2 Go to Settings: From there, let us open the Settings application to turn off the Wi-Fi.
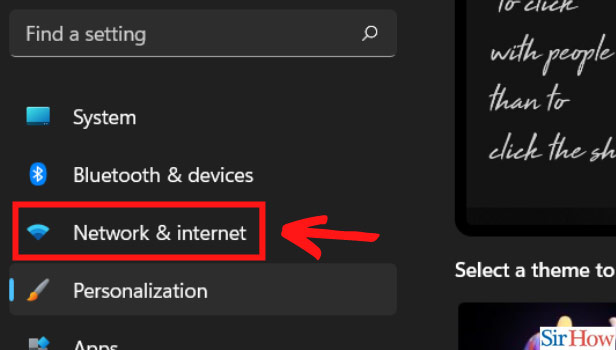
Step-3 Click on Network & Security: In the left-hand panel, there is an option for 'Network and Internet.' Click on that so that you reach the network settings.
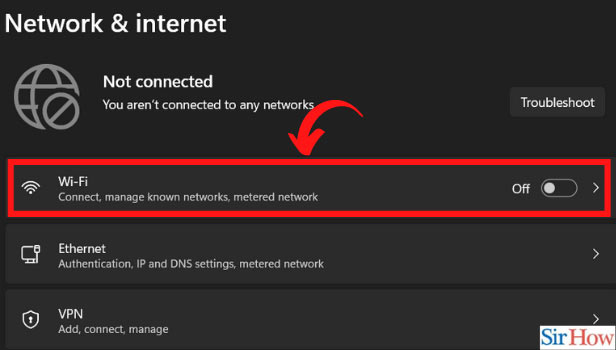
Step-4 Disable the Wi-Fi: Under the network and internet, you will see the option of Wi-Fi. It has an on/off button on its right end. Just click on it to turn it off and disable the Wi-Fi. Thus, you are ready to work offline.
Why Should I Turn Off Wi-Fi? Is It Necessary?
It is not necessary to turn off Wi-Fi. However, if you connect the Wi-Fi on a laptop by using mobile data, then you should turn it off once the task is over. This is to save your mobile data from being used up completely. Thus, once you are done with your work over the internet on your Windows 11 laptop, disable the Wi-Fi. Otherwise, it will automatically connect the next time you open your device.
How Can I Use Wi-Fi?
Follow the above-given steps. Now, in the last step, instead of turning off the Wi-Fi, turn it on. Click on the option of Wi-Fi to go further. There is an option of 'show available networks.' Click on that. Like this, your device will scan all the nearby available networks. Click on the one you want to connect to. Enter the password or security key if it is password protected. Once it connects, you are ready to use the Wi-Fi.
What Do I Have to Do to Connect Windows 11 to Mobile Internet?
Follow the next steps correctly to connect Wi-Fi on your windows 11 through your mobile phone's data.
- On your mobile device, drag down your notification panel and taskbar.
- From there, turn on the mobile data. You also need to turn on the mobile hotspot from there.
- If you do not have a mobile hotspot in the quick action toolbar, go to the settings app of your device. There, you will have a category of Wi-Fi. Under that, you have a mobile hotspot and tethering. Turn it on.
- Now, click on the hotspot option to go further. There, you will see the Network name and password. Note it Down.
- Now, turn on the Wi-Fi on your Windows 11 laptop by following the above-mentioned steps.
- When it shows the name of your mobile network, click on it, enter the password, and connect.
- Thus, your task is accomplished and you can use Wi-Fi that is connected to your mobile data.