How to hide your cursor while typing in Windows 11
Typing requires a lot of attention if you are preparing it for your professional work. The cursor can be the biggest barrier while you type speedingly. Now with windows 11, you will have numerous options to change the settings at your convenience.
Hence, you can create a guest account on Windows 11. Next, hide your cursor while typing on windows 11. Both will serve you the best alternate option to work in do not disturb mode. Now let's quickly take a glance at the steps to hide the cursor.
How to Hide Your Cursor While Typing in Windows 10 or 11
Hide Your Cursor While Typing In Windows 11 With 8 Easy Steps
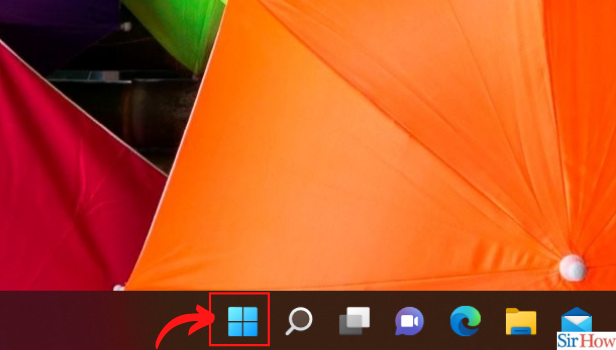
Step-1 Click on the Windows icon: Open your laptop or Pc. Then make sure you have downloaded windows 11 on it. Next to the taskbar, you will find the windows icon. Tap on it. Next open windows 11.
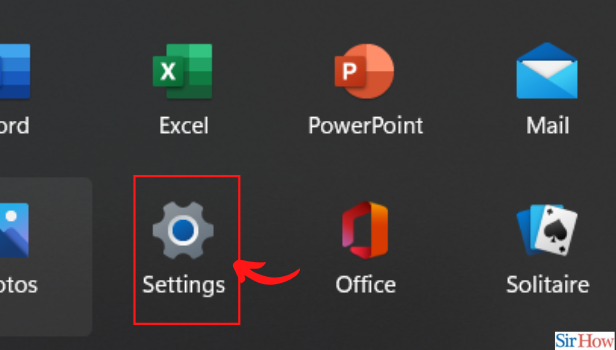
Step-2 Choose the Settings option: Once the list of several app options of Windows 11 opens on your screen. Find the settings app. Then tap on the settings. Next open settings. Either use the shortcut 'Win+I' to open the settings app.
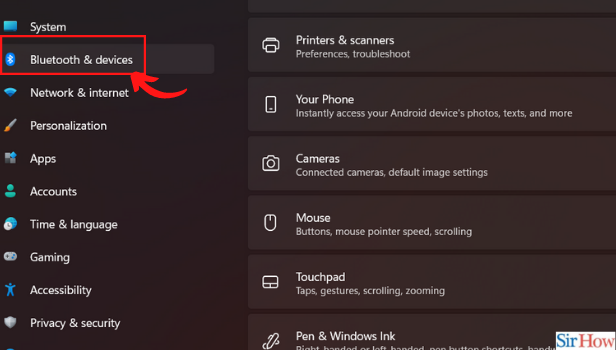
Step-3 Go to the Bluetooth & devices section: Under settings, a long panel of options opens up. Now from the left sidebar, go to the Bluetooth & devices section. Tap on it to open.
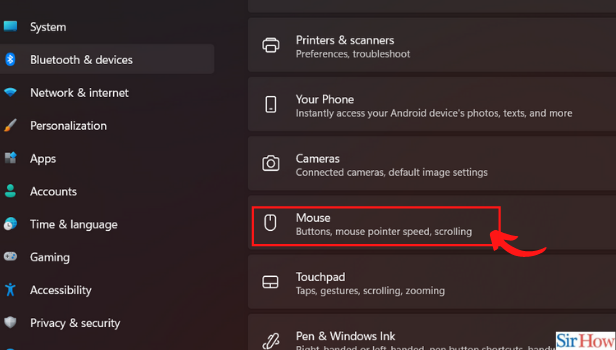
Step-4 Scroll down and select Mouse: Now another panel on the right will open with different options. Scroll down and find the mouse option. Click on it.
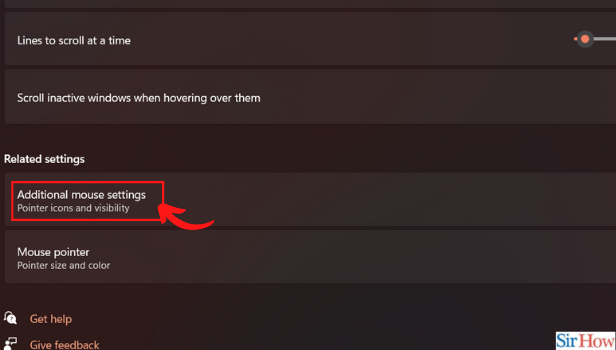
Step-5 Select the Additional Mouse settings: Now under Under Related Settings, go to the option Additional Mouse settings. Then tap on it and open it.
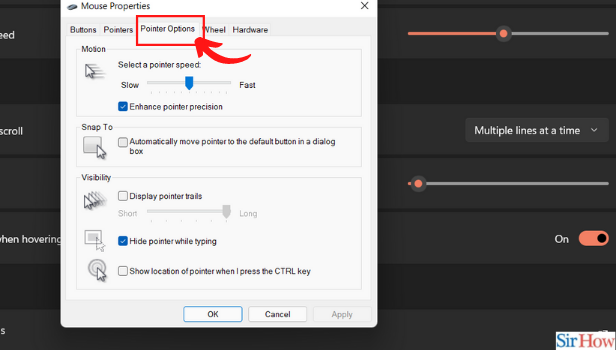
Step-6 Select the Pointer Options tab: Now a pop-up window will appear on your screen. You will have several options there. Tap on the Pointer options. Next, open it.
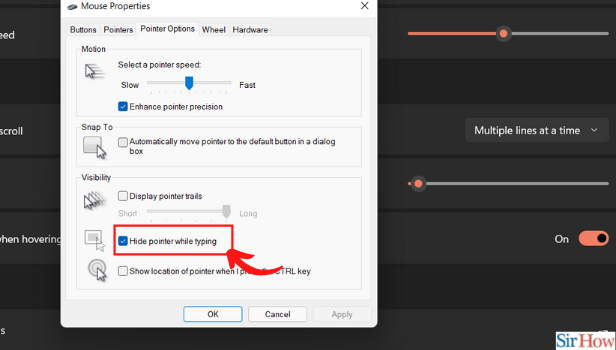
Step-7 Check the Hide pointer while typing box: Then Under the visibility section, you will find the option of Hiding pointer while typing along with a box. Tap on the box and fill it.
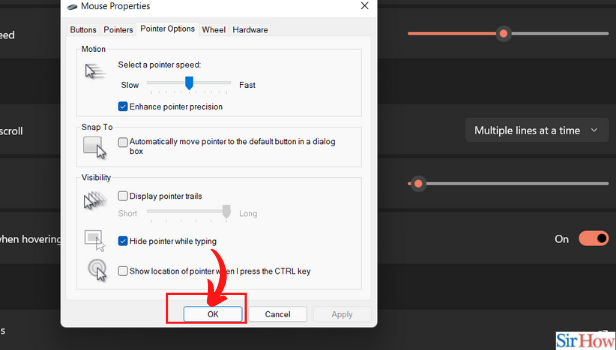
Step-8 Select OK to save your changes: Lastly, confirm the changes by tapping on OK. Hence, you have saved your change on windows 11 successfully.
How To Change The Mouse Pointer Size On Windows 11?
To begin with, open windows 11. Next, open settings from the app list.
- Now go to the Bluetooth & Device section.
- Under it, you will find an option for the mouse.
- Tap on it.
- Then find the option Mouse pointer.
- Click on it.
- Then adjust the size.
- Lastly, tap on applying.
- The mouse pointer size is changed now.
What Are The Options Under Pointer Options On Windows 11?
The options under the Pointer option are as follows: You can adjust the speed of the pointer, put the cursor by default in the dialogue box, changes its trails long or short, and see the location of the pointer when you press the Ctrl key.
Can You Use Mouse Cursor Other Than White Colour On Windows 11?
Yes, you can use any colour of your choice for the mouse cursor on Windows 11. Because you can change the colour of the mouse cursor on Windows 11.