How to Apply 'Read Only' Permissions to Google Sheets
Do you want to make google Sheets read-only or view-only? Then you're at the exact place that will help you achieve this. When a google sheets document is shared with others, there is a chance that someone may edit and format sheets unnecessarily and tamper our important documents. To be safe from such issues, make your google sheet read-only with someone you share. Like this, you can show your report as well as not let them do any changes to it.
Give View or Edit Access to Anyone
Make Google Sheets Read-Only: 5 Steps
Step-1 Get the Application: Without a doubt, you will need the google sheets application to work on it. So, what are you waiting for? This is the easiest step! Open the application or download it if you do not have it. Once that is done, you can get going with other steps.
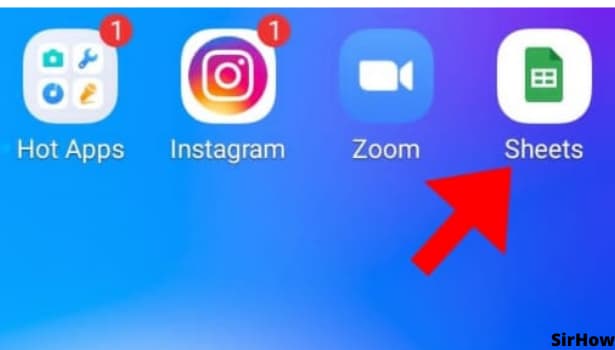
Step-2 Choose the Described Icon: Now that you have opened the google sheets application, open the sheet that you have to share with someone but not give them editing rights.
- On opening the desired sheet, you will see an icon that looks like a person. It has a plus sign over its shoulder.
- That is the icon to add someone to the current sheet.
- Just click on it and you will be guided further with upcoming steps.
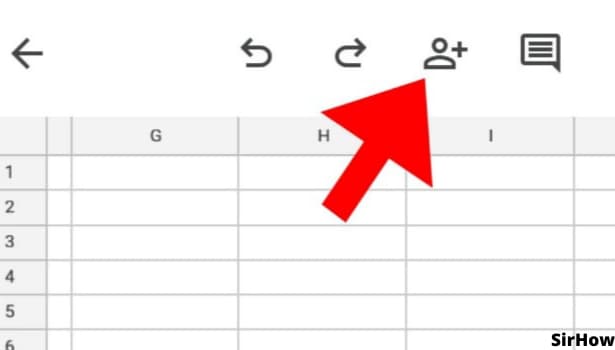
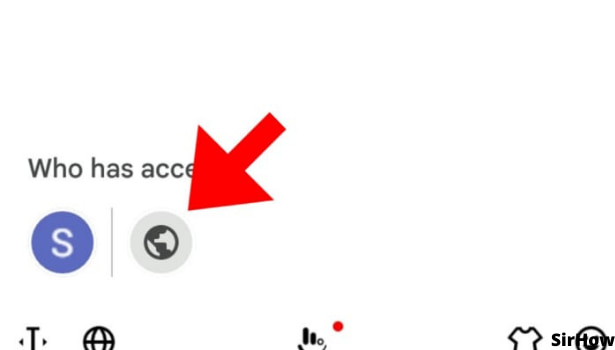
Step-3 Add the Person: On clicking the person icon, you go ahead to a screen where you can share google sheets with others. And yes, also restrict them from editing.
- At the bottom of the screen, you will either see the lock option or the world option.
- The lock option signifies that the sheet is not shared with anyone at the moment and the world option means that it is shared.
- It has a typing bar one the top. You can directly type the mail ID of the person.
- A small tip! Always keep the mail addresses of your team handy for such purposes.
- On entering the mail ID, you add the person to the current sheet.
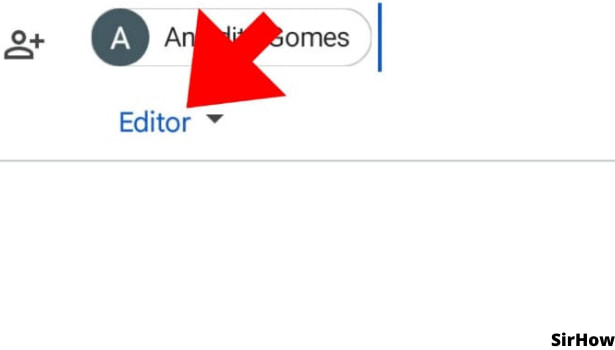
Step-4 Click on Editor: On typing the mail address, it shortens to the person's google name. Just below it, you see 'Editor' written.
- Now, we do not want the person to edit the document but just read it.
- So, tap on the down arrow key just beside the 'editor' option.
- Now, you will be able to go to the last and final step.
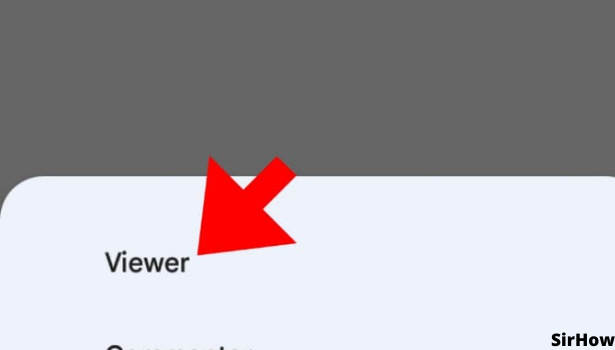
Step-5 The 'Viewer' option: On clicking the down arrow key, three options appear at the bottom of the screen. Can you see them?
- They are of Viewer, Commentor, and Editor.
- Now, commenters and editors can make changes to the sheet.
- But a viewer can only view it, read it.
- Thus, your answer is to choose the viewer option.
- Once you click on the viewer, the option will change from editor to viewer below the name of the person you added.
- Do not forget to click on the arrow at the bottom right corner of the screen. So finally, your process comes to an end.
Isn't it quite easy? Keeping up the control of the google sheets and still sharing them. If you make google sheets read-only like this, you will never have to worry about unwanted changes. So, keep up the teamwork on google sheets.